September 06, 2011

Well i'm back...

For how long, who knows. SO i've been working on the 55 Chevy Cameo when i can and i finally got a coat of paint on it. The hood fought me all the way, i had cracks appearing through the paint with every coat i put on. I guess that was due to the glazing putty being put on too thick.

So i get 2 coats on i think and put the kit in the dehydrator and go out with the family for a few hours and i knew it never got hot enough without shutting off the vents in this unit. Well i get home and the cat was sitting near the thing i guess to keep warm but never paid any attention to anything. Put the 3rd coat on and turned it around and i looked closely and saw that there was a slight bulge at the base of the passenger side door. Great, it was starting to melt and i caught it just in time, i thought this was going to be my best yet with limited issues but guess not. Oh well live and let learn as they say.


August 20, 2011

Now i know when to stop..

Well the last time i picked up the Panzerspahwagen didn't go so well. I had intentions of trying some pigments on the body of the vehicle but i guess i went to far. After everything had dried and i took a look at it, i should have just left it alone, it looked way better before the pigments. So then i tried to add more oils on top of it to see if i can hide some of the mistakes but it didn't do anything to help the look and before i knew it i had a crappy looking vehicle. So i've decided to strip this vehicle and start all over. I think i'm gonna take some advice of alot of you and keep a seperate kit for practicing on. Well this is a good kit to practice on alright. LOL

Happy Modeling guys.

August 17, 2011

When to stop weathering..

So since opening up this little Panzerspahwagen build a few days ago, it seems i can't stop tinkering with it. I added a few more washes and when that dried i tried some pigments. I made a total mess of it. DOH! So i've been trying to take off the pigments, scrubbing and adding more mineral spirits and scrubbing some more. I got it back somewhat to the way it was before and i added another couple of washes and we'll see how it dries up tomorrow. Thats pretty much it for now.

August 14, 2011

Toned it down a little

After taking the Panzerspahwagen  out yesterday i noticed that it was very shiny still from the coat of Future i put on it. I guess my first try at filtering didn't get it covered enough so i tried my hand at it again. So i snapped a few pics and maybe you guys can comment on it. I think it came out pretty good. Have a look see.


Maybe still a tad shiny or its the lighting but i think if i add now the pigments and maybe a little chipping and staining it'll tone down everything a bit more.                                                                    

August 13, 2011

Had some free time today...

and found some old photos of my first builds since getting back into modeling.

The very first model i built was a 69 Chevy Nova.


It was a complete learning curve because of all the years lost not building a model and missing out on new techniques and not having proper materials at hand and just before completing this kit my wife and I had our baby boy. We're talking five years ago here and the stuff i see on these model forums everything evolves day by day.


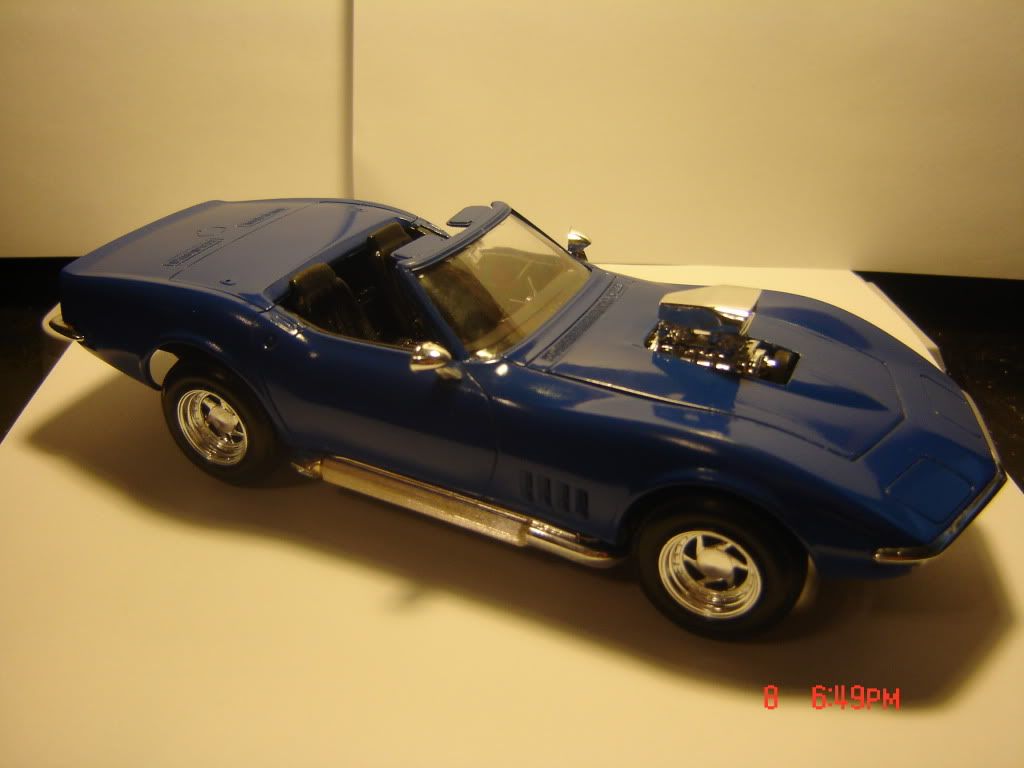
My second build was a 68 Chevy Corvette Roadster. It was a much cleaner build from the first cause i had plenty of time in between kits to scour the net for tips and techniques but still trying one technique per build.


My third build was a 32 Ford Street Rod and it was an ever better build. I still got a long way to go to fine tune things but i am glad the way things turn out so far.


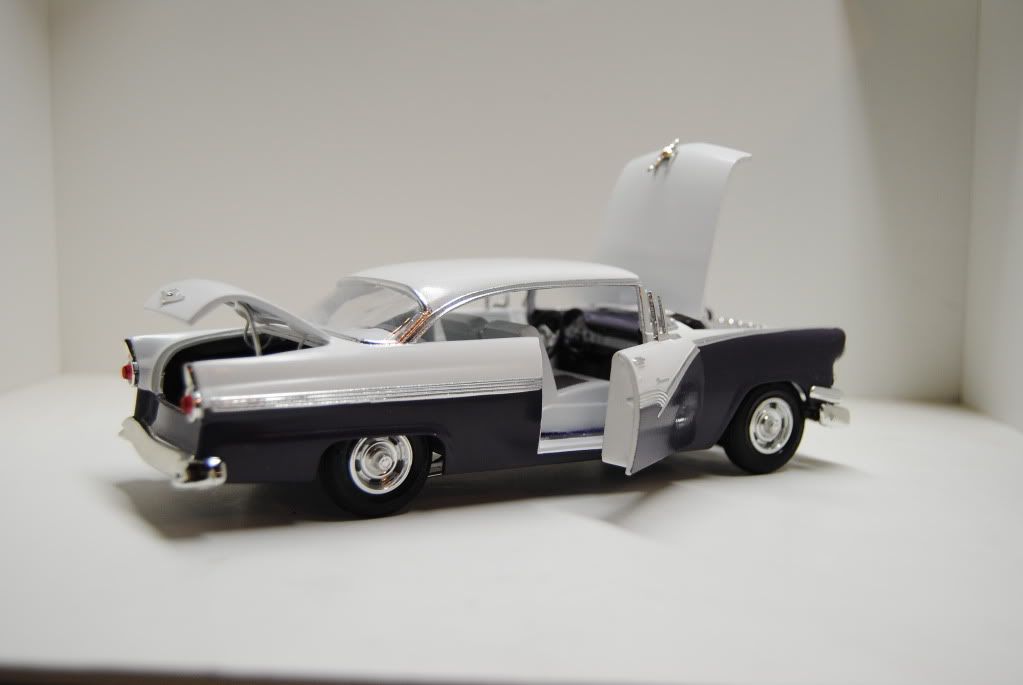
I had a few more builds after the 32 Ford but didn't have a camera for some pictures. When i finally got a camera again my next build was a 56 Ford Victoria. This kit was my second with hinged doors and trunk, still not perfect but i was pretty amazed where this build took me.


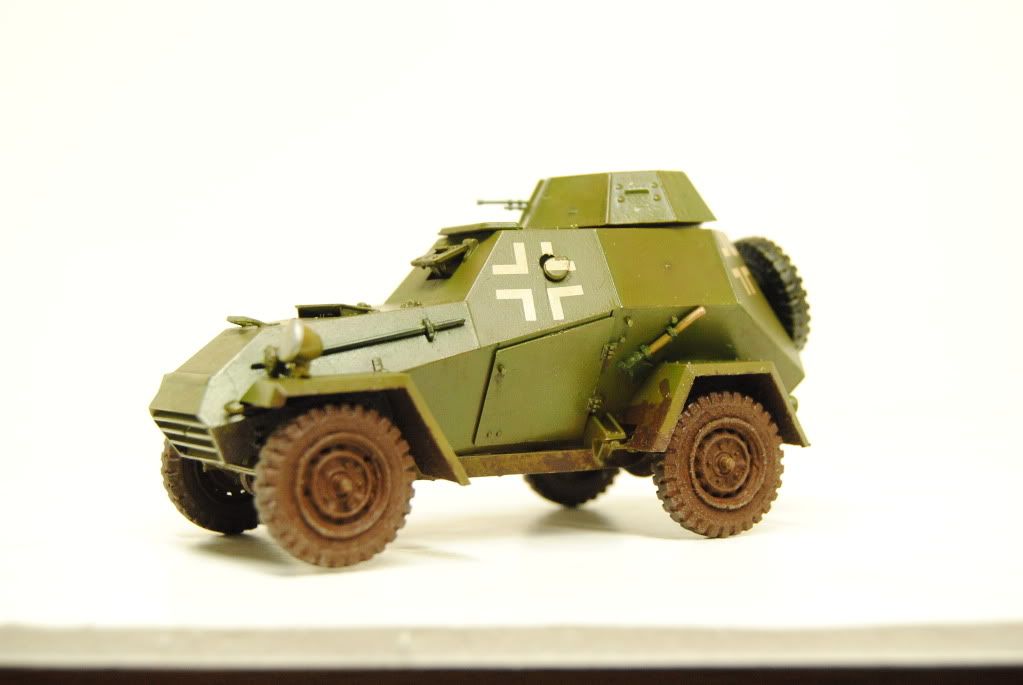
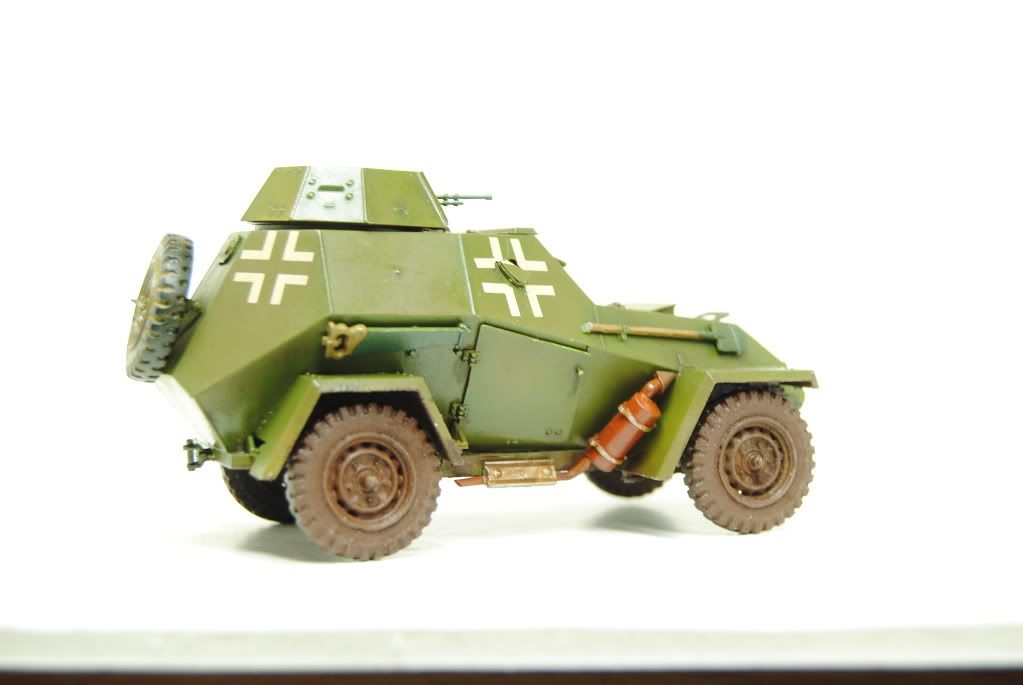
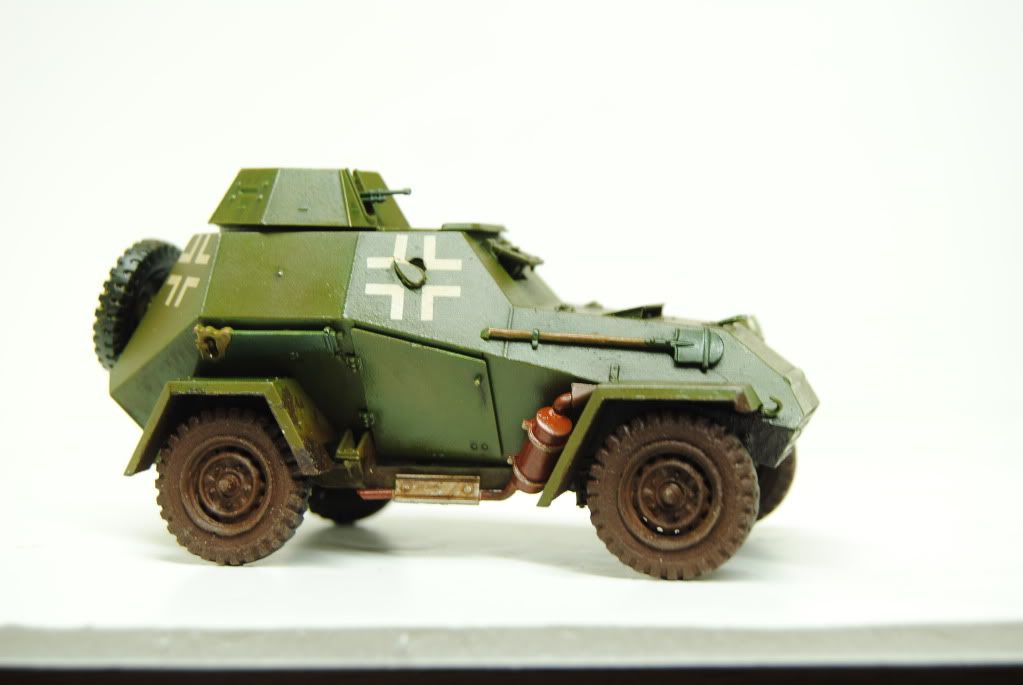
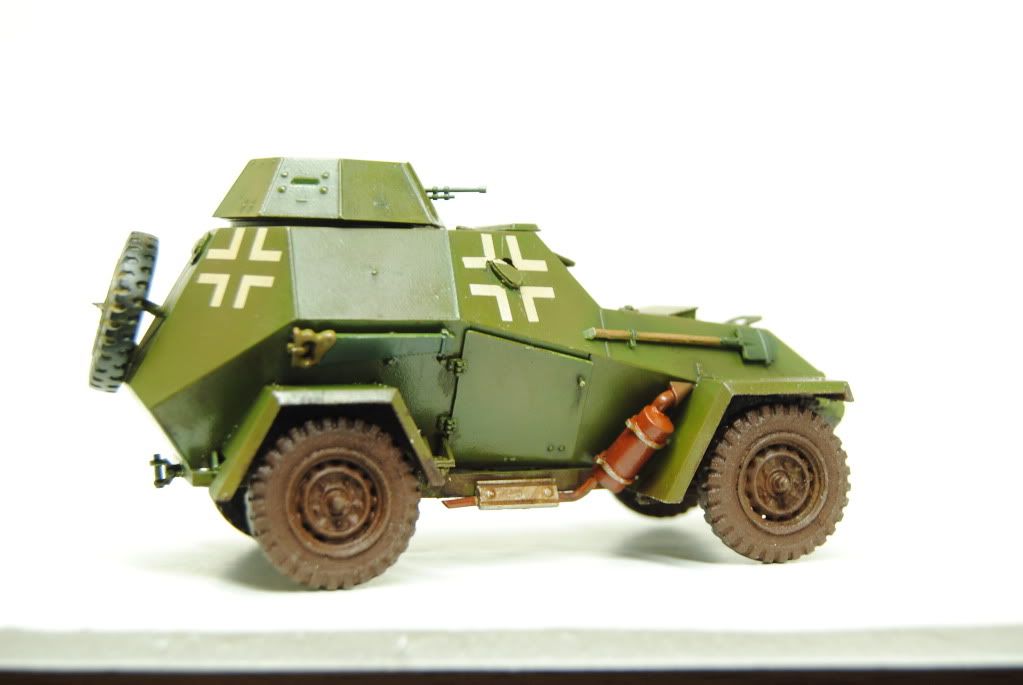
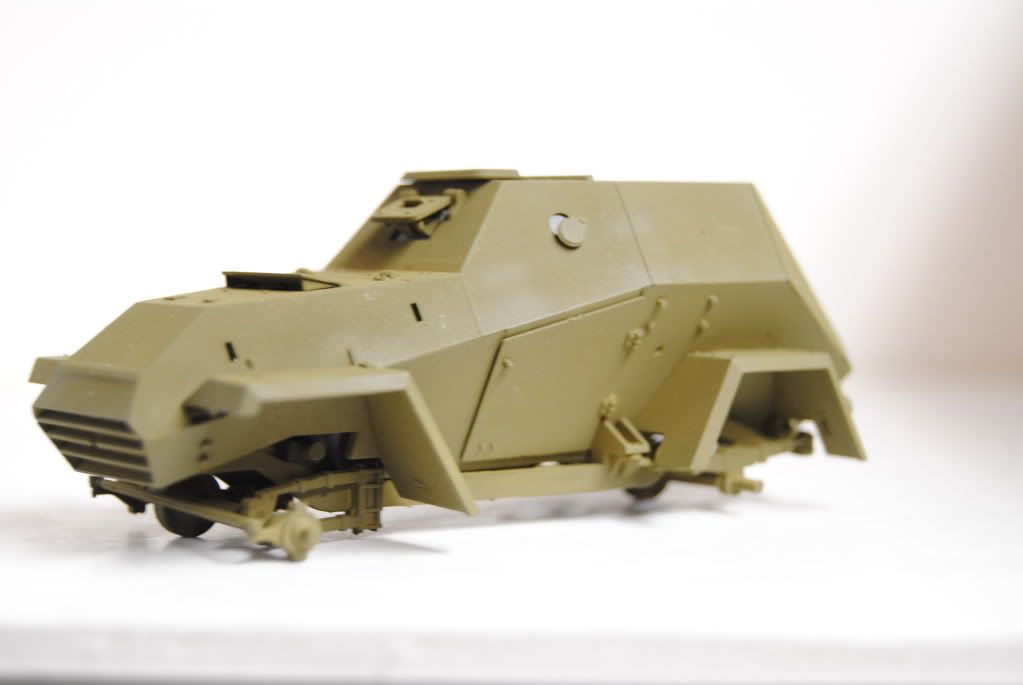
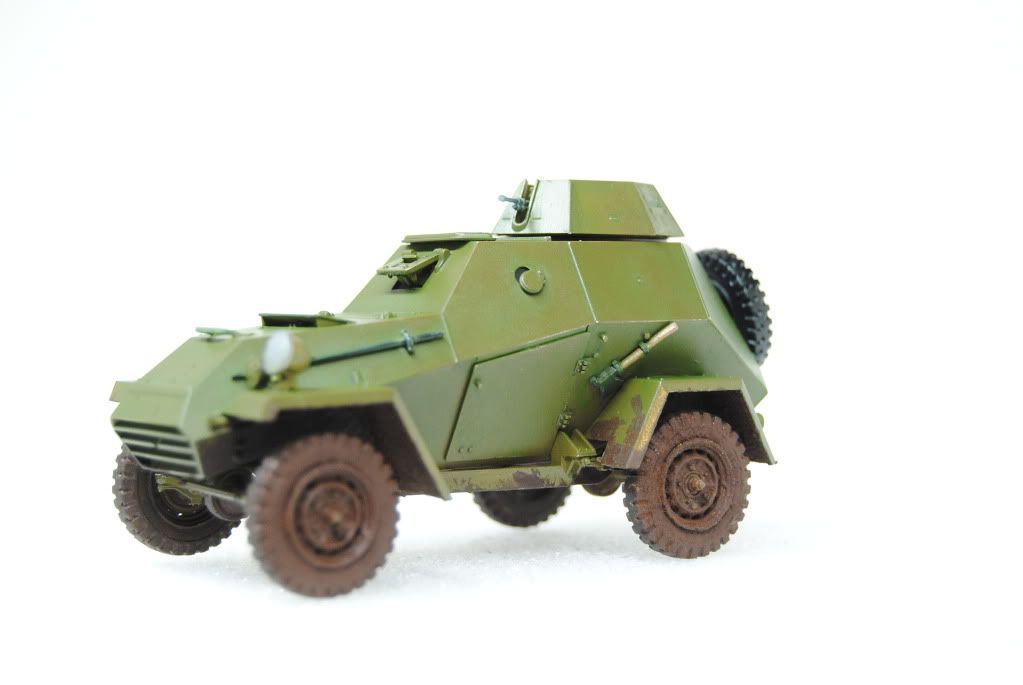
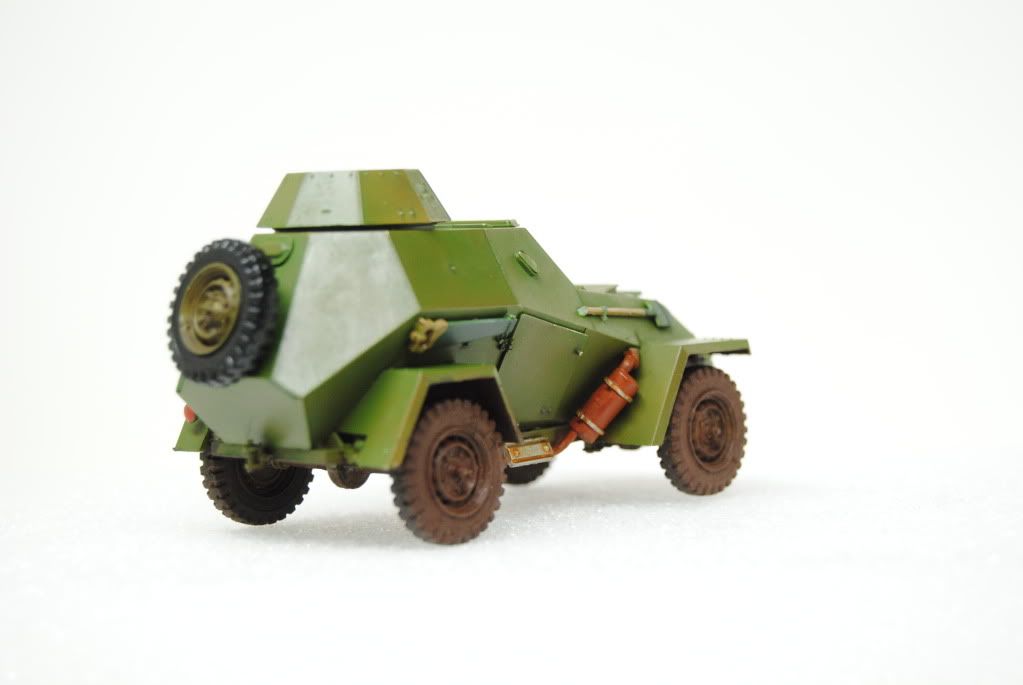
So then i found a forum that was dedicated to military scale models and the things i saw some guys do with paint and pigments and washes OH MY!! I went out and bought one small kit to try my hand at all these newer techniques i saw and as i built the model and tried a few things i kind of got stuck. I don't know where else to go with it. I think the last thing i did to it was added a filter.

This was a before shot.


Here's the after shots.


I was thinking of doing a vignette of some kind thats why i weathered the wheels the way i did but then i sort of got stuck. Maybe i had sensory overload with all these new techniques and all these amazing photos i was seeing and not knowing exactly where to go from here, it went back in its box and its sitting there now.
We'll see how it goes in the days to come, the box is sitting on my workbench and the lid is off so i can slowly gather my thoughts and ideas and where i need to go and get it finished. So as they say in tv land " Stay Tuned".

August 12, 2011

First try with resin casting

Well last few days i've been tinkering around in the basement alot cause i bought some casting supplies a little while back and saw the use before date on the bottles and the days were almost up. So i've been scouring the net for info and pictures and how to's and found a few so i took a crack at it.

Made the mold and surprisingly the mold came out better than my expectations.

So today was resin casting first time ever. Followed the instructions and i thought that it looked like too much for my application, way too much made. Poured the casting and we'll see how it turns out later.

Well my first resin cast wasn't a success. The front side of the cast came out successfully with alot of detail but the back side just didn't have enough resin due to the way my mold was made. I have modified the mold and tried another casting. It's got to work sooner or later.

Well attempt number two wasn't a total success but it was much better than the first. I'll be attempting to use these castings after a little work on them of course, it's all part of the learning process right. Oh i never shed light on what i'm working on at the moment. I'm building a 1955 Chevy Cameo Pick-Up with some slight mods to the kit. I wasn't crazy about the wheels so i went through my stash and found some nicer wheels so i tried my hand at molding and casting.

August 11, 2011

Going to try something new.

Hi and welcome to my blog. I'll be trying to handle all this web stuff along with building models and everything else in life that keeps me away from playing with plastic.

I don't get alot of time building models and when i do get time i'm always on the web and gawking at everyone else's work. Alot of people have such an eye for details and at certain scale sizes it baffles me how can two human finger's attempt to attach a piece of photoetch so small that it just makes me not take out a project from the stash pile.

I have just got back into modeling scale cars which i took a break from sometime ago when i was in high school. You know when you were a kid and brush painted everything and didn't even care what it looked like but thought it was cool because you put it together, well least i did anyway. Now there's a whole lot of forums dedicated to this hobby and the amout of detail that goes into certain builds is just mind boggling and just remembering to even take a pic of a certain task for the build at hand takes planning and editing, theres a whole other side to building scale models with this wonderful thing we called the internet.

I'm gonna end this little start to my blog with saying hopefully i can build a model with a work in progress and update as i go when i get some more free time and got to remember to charge up the camera too. I'd like to learn and try new things as i watch alot of you build and want to try new techniques to take my models to the next level.